It’s been over 5 years now since the original Chromebook Pixel has been released. Since then, new and better hardware has come and gone. However, I do believe in keeping old devices useful, so I finally got some time to properly install Linux on the Pixel (2013, LINK). When I say “properly install Linux” I mean avoiding other methods such as crouton. This procedure fully removes Chrome OS and replaces the BIOS.
There are a few guides on doing that, but these are the steps I took:
- Start a Linux distro download. To make it easier I also used the balenaEtcher tool to write the distro onto a flash drive.
- Remove the BIOS write protection: Remove the 4 screws that are hiding below the rubber feed on the bottom the device. Once the bottom of the device is off, find the screw on the right side. Remove that screw.
- You can put the device back together again.
- Boot up the device and open a terminal shell. With DevMode enabled, I typed in
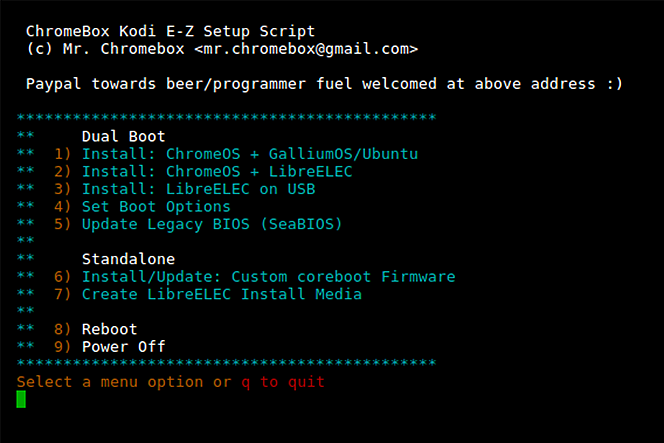
shell. Now we can run the “Setup Script”: cd; curl -LO https://mrchromebox.tech/setup-kodi.sh && sudo bash setup-kodi.sh- Following the steps to install the UEFI BIOS, make sure to backup your ChromeOS room while you are at it (on a different flash drive).
- After the backup and UEFI installation, select the reboot option and plug in the Linux distro.
- In my case I used the latest Ubuntu LTS and to my surprise everything worked properly, right away. Even the issues with Sleep Mode from past crouton installations are now gone! 🙂
Maybe someone might find it useful one day to follow these instructions. If you have a different device, please checkout the supported devices section on the MrChromebox.tech website.

