
Years ago I purchased the Kinect (1st gen) sensor and haven’t found a proper use for it …. until now.
In this blog post I’m going to talk about photogrammetry, specifically quickly creating and viewing a photogrammetric 3D model in VR using free tools (and an old Kinect). Here’s an example:

I know it looks scary, but it is better than nothing… You can compare it with a professionally created scene like this:
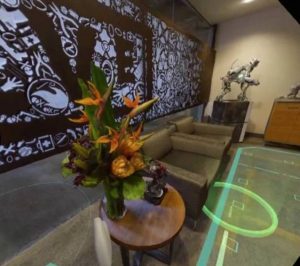
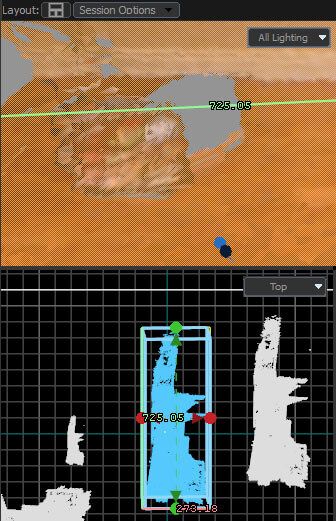
My scene was created using the first-gen Kinect, imported as a mesh into the Source 2 engine (via Destinations). The laptop photo above first shows how the object looks in real life. The two views after it show the virtual reality view using the HTC Vive. Even though the Kinect sensor is very weak, it can still produce some results. You can walk around the 3D room and recognize things! There are ways to get better results (better 3D meshes), but I will may save that for another blog post.
Here’s a quick video demo that hopefully makes it easier to see the final result:
I have the instructions below that will help you scan your favourite place and make it a Destination.
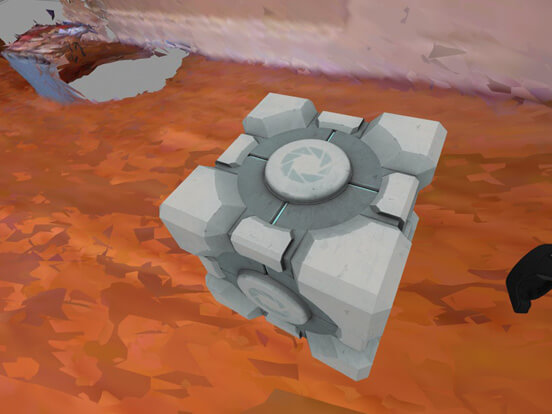
Companion Cube embedded into the “real” VR world
Instructions
The purpose of these instructions is to help you scan some objects with a Kinect sensor and walk around them using Valve’s Destinations VR app.
Setup
Some of the tools that are used for this are available on different operating systems. I will be using Windows 10 for everything in this case. I also assume that you have Steam VR working on your machine already. 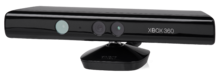
- Assuming you have no existing Kinect drivers installed. If you do then uninstall them using the Control Panel.
- Download OpenNI 2 SDK (I used version 2.2.0.33 Beta x64), link: https://structure.io/openni
- Download Kinect SDK 1.8. You need 1.x SDK for Kinect 1, a 2.x SDK might work for you with Kinect 2.
- Install the OpenNI 2 driver first and then the Kinect SDK.
- (Make sure your Kinect is working correctly. Use some Kinect app and see if it detects the hardware).
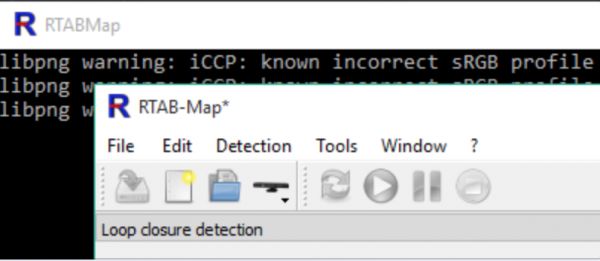
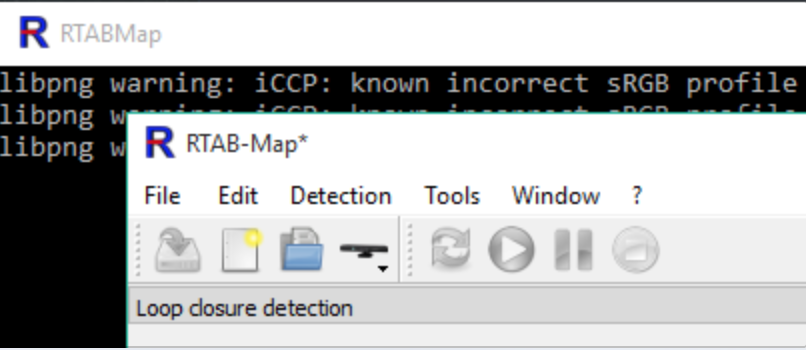
- Download the RTAB-Map (Real-Time Appearance-Based Mapping) software: Download latest from GitHub.
- Optionally download Meshlab, it will help you clean up your scanned mesh, so that it looks cleaner. I suggest skipping that if you just want to get things working.
- Download Destinations Workshop tools from Valve.
Ready to scan
- Fire up the Kinect and start the RTABMap application.
- Select “New Database”. Make sure to create a new database for every new Kinect scan.
- Once the database is ready press the Play (>) button. This will start up the Kinect and you can scan the room you are in.
- Walk around slowly and try to capture objects and walls from different points of view.
- If the RTAP application flashes red that means you are moving too fast or the Kinect is failing to sense proper depth.
- You can recover from “red” state by moving the sensor back to a good known location. There are some states you cannot recover from and you will be forced to start the process all over again.
- Once you are happy with your scan press the Stop ( [] ) button.
- You are now ready to export the scan. Use the “Export 3D clouds” option. As mentioned in other docs, due to bugs in the software you need to perform the following steps in the export menu:
- Select “Dense Point Cloud”, check and uncheck “Cloud Smoothing …”
- Select “Organized Point Cloud”, check “Meshing” + check “Texture Mapping”. Also check “Gain Compensation”. Screenshot.
- Hit “Save”.
- At this point you can optionally use MeshLab to clean up the mesh or jump straight to Destinations.
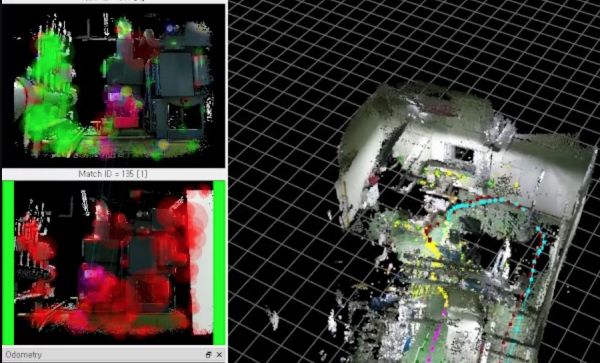
An example of an RTABMap scan
Build your destination
Follow Valve’s excellent instructions to create the Destination. The instructions in the wiki are very detailed and you should be able to import your mesh easily. In addition to the wiki, I would suggest pasting your mesh into the scene several times, this way you can experiment with different sizes. Also, use the “CONTROL” key to precisely adjust the position and size of the mesh. In my experience with these tools, I successfully loaded several meshes of 500 mb in size.
The instructions above are a combination of posts from Lhun and Valve’s Destinations Wiki. Huge thanks to both for documenting this process. If you get stuck with any part of this process please let me know on Twitter!